My new blog can now be found at:
www.aldridgecrafts.co.uk/blog
see you there for daily inspiration!
Jane
Sunday, June 15, 2014
Monday, May 26, 2014
Our workshops June-July 2014 held in Norfolk
Aldridge Crafts & Champagne Moments
01953 454976 www.aldridgecrafts.co.uk
Craft Workshops
Held in Store – Limited places – book now! - workshops are all on our website where you can book & pay online.
Booking is essential. Payment is required at the time of booking.
Check online or in-store for pictures/samples of our workshop projects.
Wed 4th June 2 – 4pm Meltpot Marvels £20
The Ranger Meltpot is a great tool. This workshops will show some of the things that you can create using it. Faux dichroic glass, Galaxy flash and UTEE combining to make a show stopping ring. There are so many things we can try. So book your place and join in the fun! The workshop price includes all the jewel enamel and use of tools (Beginners)
Thu 5th June 6-8pm Papier Mache Stamped Heart Panel £15
In this workshop with Jane you will create a beautiful painted papier mache heart panel. We will use rubber stamps, inks and embellishments to create a unique piece of artwork perfect for your home. (All levels)
Wed 11th June 2 – 4pm Gemstone and Crystal Collar £20
Using Agate or jasper column beads and teardrops combined with Tibetan silver bead caps and crystal rondelles. Skills required turning loops with round nosed pliers. The price includes all beads and use of tools. (Intermediate)
Wed 18th June 2-4pm Cascade Necklace and earrings set £20
This lovely necklace combines chain links, gemstones and pearls in a lovely cascade in summer tones ideal to team with your summer dress with matching earrings. Price includes all beads, gemstones and use of necessary tools. (Intermediate)
Saturday 21st June 10-4pm
FREE Stix2/Woodware Demonstration with Annette Taylor
Come along to see Annette demonstrating using products from Stix2 and Woodware. Pick up lots of handy hints and tips and see her using the latest products. Just come along on the day! - FREE!
Wed 25th June 2 – 4pm Polymer Clay with Gill Thompson £20
Come and learn how to work with Polymer clay each month Gill teaches a new technique using this versatile medium. Price £20.00 includes all clay, tuition and use of tools. (beginners)
Thursday 26th June 6-8pm Scrapbooking for Beginners £15
Scrapbooking is creating your own personalised photo album to record your pictures and memories. You can use a variety of decorative papers, embellishments and die cuts to create a beautiful scrapbook page which you can put together in a lovely album. All you need to do is bring along a couple of photographs and we will help you create a scrapbook page. All who attend the workshop will be entitled to a 10% discount on any album in store on the day. (beginners)
Wednesday 2nd July 2 – 4pm Flower bracelets £15
These very pretty bracelets combine 4mm crystal bicones with 6mm rounds to make lovely floral bracelets suitable for young and old alike. Price includes all beads, findings and use of tools. (beginners)
Thu 3rd July 6-8pm Pop Up Box Card £15
Learn how to make a pop up box card which you can decorate with flowers. This clever card folds flat to fit into an envelope. We will use a mixture of decorative papers and lots of flower dies to create a unique card. (Any level)
Saturday 5th July – 10am-12 FREE Demonstration in store with Jane – Stampbord – learn how to stamp onto this clay board to create vibrant embellishments which can be used on your crafting projects or as jewellery- FREE!
Wed 9th July 2 – 4pm Chain Maille with Shawn Mills £20
Would you like to learn a new skill or have tried chain maille and would like to learn another weave? Our guest tutor Shawn has several years of teaching Chain Maille. Price includes all rings, findings and use of tools. (Beginners/intermediate)
Thu 10th July 6-8pm Sheena’s Faux Leather Technique £15
You have probably seen Sheena Douglas’ fabulous technique on social media forums or on the telly, well we will show you how to turn a piece of ordinary Kraft card into a pliable leather looking material! Perfect to use in your mixed media projects, as a bookmark or book cover or as part of your scrapbook. (Any level)
Saturday 12th July 10am-12 FREE demonstration in store with Jane – Using Ink with your Embossing Folders. Learn about the different effects you can get by using inks with your embossing folders through your die cutting machine. - FREE!
Wed 16th July 2 – 4pm Gemstone Torque necklace £20
A lovely wirework piece using 1.5mm wire as a base as your torque then add gemstones to the frame using the tiara technique. Makes a lovely light-weight but visually beautiful necklace. Because of the nature of the tiara technique used good manual dexterity is needed. Price includes all gemstones, wire and use of tools. (Intermediate )
Sunday 20th July A WHOLE DAY OF WORKSHOPS
10-12.15 Sweet Poppy Stencils with Paste and Flitterglu and Flakes £15
We will spend the morning using stencils together with dimensional paste but also how to apply flitterglu and flakes through a stencilled design too
12.45-3pm An introduction to Alcohol inks £15
We will spend the afternoon learning how to use alcohol inks to create backgrounds and then stamp onto them.
You can book on these workshops independently, but if you book for both you get a free bottle of Alcohol Ink. (Any level)
Wed 23rd July 2 – 4pm Polymer Clay with Gill Thompson £20
Come and learn how to work with Polymer clay each month Gill teaches a new technique using this versatile medium. Price includes all clay, tuition and use of tools. (Beginners)
Thurs 24th July 6-8pm Steampunk or Flowery Birdhouse £15
Decorate a papier mache birdhouse with paint and die cuts to create a unique piece of art you can put in your home. You can choose between a grungy steampunk style, or a soft flowery style. (Any level)
Sat 26th July 10-12 FREE demonstration in store with Jane – Using Sakura Pens – stardust, glaze etc. Learn all about this fabulous pen range and the ways you can use them. - FREE!
Thurs 31st July 6-8pm Zentangling £12.50
Come and learn the art of zentangling – posh doodling! You will learn how to break down and create intricate looking patterns which you can use with stamps, die cuts, stencils and on scrapbooking pages. (All levels)
Can’t make one of our workshop dates? Most of our workshops can be run on a 1-2-1 basis at a mutally convenient time. Minimum cost for a 1-2-1 workshop is £20.00 for a 2 hour workshop. Phone/call in to book 01953 454976
By booking you agree to our booking/cancellation T&Cs available to see online & instore.
Monthly Craft Club – Join our friendly club that meets monthly to get together with other crafters for crafting, tea and a chat – Friday 20th June, 18th July 15th August 6.15-8.30 at the francis Rooms in Connaught Hall - £3.50 on the night.
have you found my new blog yet?
Did you know that my blog has moved? It's now attached to my website. You can find it at
www.aldridgecrafts.co.uk/blog
here are just a few of the posts I've put up since moving... be sure to come and find me so you don't miss out on all my new creations!


 see you there
Jane xx
www.aldridgecrafts.co.uk
www.aldridgecrafts.co.uk/blog
here are just a few of the posts I've put up since moving... be sure to come and find me so you don't miss out on all my new creations!
Jane xx
www.aldridgecrafts.co.uk
Tuesday, May 20, 2014
Monday, May 19, 2014
My Blog is moving! #147


That's enough of the boring techy stuff - onto the creative stuff! Today's creation is zentangling with the Sweet Poppy Phoenix Stencil. Love this stencil for zentangling! I kept the body pattern quite bold so it really stood out and then used repeats of quite simple patterns for the feathers and tail.
Did you know that we stock Zentangling supplies? I've just had a new delivery of the fabulous books - only £5 each and 11 different titles to choose from. We also stock the Micron pens too - but these haven't been put onto our website yet - but just drop us a line to add them to your order.
That's all from me today... off to get a good night's rest as I have to have my technical head on in the morning!... wish me luck! :-)
happy crafting
Jane
www.aldridgecrafts.co.uk
Sunday, May 18, 2014
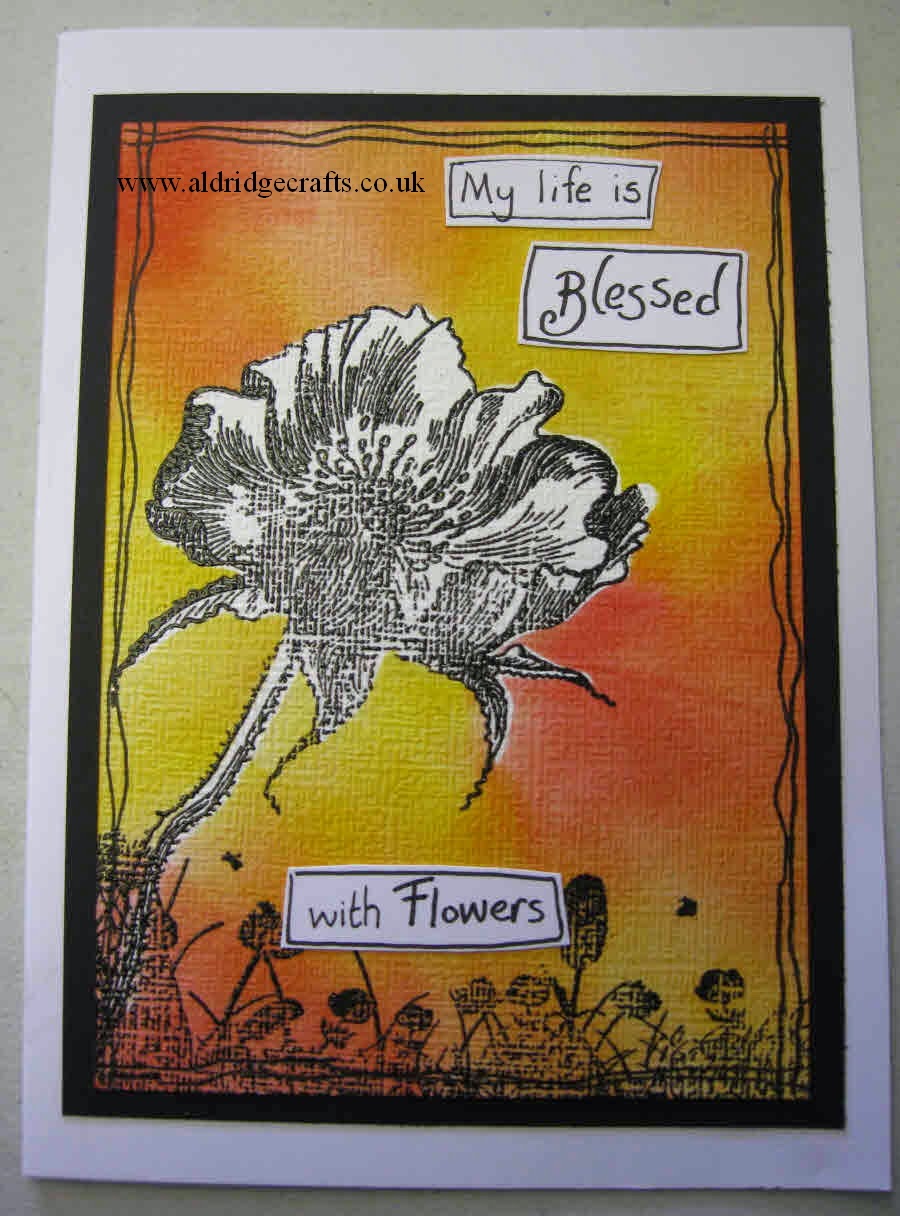
Number 83 #146


Well... this is the start and the finish pics - at last I am again organised and have room to craft hurrah!

I've started with an alcohol ink background - dragging the colour down in vertical stripes. The stamps are all Crafty Individuals - all stamped in Archival Black. Then a few white highlights to finish. A nice little piece of artwork I think!
Must get out the alcohol inks.. it's been a while since I've used them. Did you know that there are new colours out? We've just had a delivery in store of the new shades.
now off to create a little zentangling ready for the workshop I am running in the morning!
hope you've had some time to enjoy the sunshine today
happy crafting
Jane
www.aldridgecrafts.co.uk
Saturday, May 17, 2014
Indigoblu... more words! #145


I started by stamping the Indigoblu Tree-mendous stamp around the borders in my latest acquisition - Archival Potting Soil. I then stamped my greeting from the BFF set in black. I drew a border around the greeting and added some dashes in black and white pen. I finally traced all the outlines of the leaves with a gold gel pen to add a little extra detail.
It was such a difficult choice in the end as to which one to enter into the blog challenge - I couldn't decide so my hubby got the final vote and preferred the colours of yesterday's piece.
So which is your favourite out of the two? Today's project or yesterday's one?
happy crafting
Jane
www.aldridgecrafts.co.uk
Subscribe to:
Posts (Atom)