Friday, February 28, 2014

Steampunk Panel Step-by-step - Part Two

Welcome back!  Yesterday's post took us through starting with a blank piece of greyboard and getting it to this stage....
Now we have to be brave and add some colours..oooh scary bit!!  I decided on aqua and bronzy brown shades as my colour theme so I gathered together some supplies.  I picked Cosmic Shimmer Ink Misters Teal Wash and Bronze Blush. 
 I sprayed the bronze blush first - spray generous amounts and then tilt your board so that the ink runs down - this way it catches in all the different levels.  Then do the same with the Teal Wash and spray in the other corners.  Spray it with water to make your ink really run.
You then want to allow your inks to dry - remember that the colours will be a bit muted from the raw wet ink.  

When getting up my courage to have a go at this project, I watched a few YouTube video tutorials on how to get started.  On one someone added alcohol ink to deepen the intensity of colour and then sprayed with water... an odd idea I have never tried..   So in the spirit of being experimental I thought I would give it a go!  I chose Stream Alcohol Ink - one of my favourites!

I applied generously in a couple of spots and spritzed.. it gave a very interesting texture that I really liked!
 Now time to start adding some depth of colour.  You can see here that the alcohol ink wasn't so harsh once it had dried.  I started adding pearlescent paints - I chose to use Luminarte H20 Teal Zircon and Cosmic Shimmer Autumn Twist to compliment my colour scheme.  Mix up the paints so they are quite thick and then apply over areas on your panel.  You can see here it has blue added to the left and the top right and the butterfly and the bronze focussed on the bottom right corner.  This all helps to merge in the vibrant effect from the alcohol ink too.


 Everything now had colour, but there was still no light and shade.  I used Cosmic Shimmer Soft Gold into a thick paint and using a wide flat brush started to brush very lightly over the top of the panel.  This really makes all the die cuts and metal shapes really pop out from the background
 Next I started to also apply Distress Ink Walnut stain with some cut n dry foam and switched back and forth between the paint and the ink to build up light and dark elements.
 You can see the different between these two closeup shots of the cogs the difference that this shading makes.


 And here again is the final finished piece!


 I absolutely loved creating this piece .. and although I still didn't consider it as brave as I wanted to be it was a really good first piece to break the ice and get me brave enough and confident enough that I can create these altered art pieces.  I already have my next project in mind - have my colour palette selected and I think I will do the next one flower based.

So my message for today is definitely to be brave with your artwork - what have you got to lose?  If you don't like it.. who ever has to see it... but you never know - you may just create something you'll be really proud of!

I will have the panel on display in the shop - if you are local - do come and have a look!

happy crafting

Jane

www.aldridgecrafts.co.uk


Thursday, February 27, 2014

Steampunk Panel Step-by-step - Part One

Something I have wanted to do for ages is an altered book or steampunk style panel... and whilst I've dabbled with some of the techniques on my canvases, I wasn't brave enough to go into it completely and work with adding metal embellishments and getting that fully layered effect.  One of the items I saw quite a bit at the trade show that really inspired me was these types of panels and I came home with a renewed enthusiasm to give it a go.  After all, as I always tell our customers.. if it doesn't come out how you expect.. it's just cardstock.. you can always start again!

I thought I would take you through the journey of creating my first piece (hopefully the first of many!).  It would make a nice workshop too I think - let me know if you agree! :-)  You can see a picture of what I am creating at the top of the post.

 Start with a plain piece of greyboard or chipboard.  This is a 6x6" panel and the cardstock I am using is from the back of a 6x6 paper pack I had.  It's a nice firm piece that I knew wouldn't buckle when using lots of wet mediums.  Your first step is to paint the card with gesso on both sides and allow to dry.  I gave mine two coats.
 The next stage is to apply a bit of texture.  I use a couple of Crafter's Workshop masks and Dreamweaver white embossing paste.  I just added small areas of texture. 
 Once the paste is thoroughly dry, then you can start playing around with layering up your die cuts.  I went through my die collection and pulled out any dies I thought may fit in with my ideas for this design.  I then cut out pieces from all the dies - including some I haven't used on the final piece.. but plenty to play around with - after all, anything you don't use today you can use on a project another day.  The dies I ended up using are the sprockets die from Spellbinders, the elegant posts die from Spellbinders and the clock is from Marianne Designs.  I played around moving die cuts here and there until I found a layout that I liked.  The next stage was to stick all my die cuts down - I used my Cosmic Shimmer Dries Clear Glue - make sure all the fiddly bits of your die cuts are firmly stuck down.

Next you paint it with gesso again and allow to dry.

I've just got in stock some bags of little metal findings that are just perfect for this style of crafting... watch the website for them to appear shortly as mixed bags.... if there's any left after me raiding them of course!!

I pulled out a mixture of metal shapes, charms and beadcaps and again played around moving them around until I found a layout I was happy with.  This is what I came up with!

Once I was happy with the layout, I started to stick the pieces down.  Again I used the same glue - it was only a little tricky when sticking metal to metal - but I think I was just not patient enough with the drying time!  My backup glue was glossy accents - but I only wanted to use this as a last resort as I wasn't sure if it would then act as a resist for my waterbased mediums... will have to test that one out before the next project!

Once everything is thoroughly stuck down, then paint again with the gesso.  Allow to dry and then paint again.  If needs be - give a third coat (I only needed 2) - but you are aiming to ensure that any ink and paint you then apply has a good base to bond to.
 This is how it looks when it is all in white gesso.. beautiful in itself!  the next stage is to get brave and add some colour!

This is where we will stop for part one.  Come back tomorrow for part two when we add the colour!

happy crafting
Jane

www.aldridgecrafts.co.uk

Wednesday, February 26, 2014

Colourful Owl


I promised you colour - well the colour on this tag is fab!  It's been created using Picked Raspberry and Salty Ocean Distress Inks applied with Cut n Dry Blending foam.  Work in circular motions to blend your colours.  I then splashed it generously with water and waited a few moments before dabbing it dry.  I then stamped with a little floral branch using both inks along the side to add some detail.  The Owl (an Inkadinkado stamp) was then stamped with Archival Jet Black.  I then coloured in the owl using my waterbrush and dabbed off the water - if you repeat this you will bleach out some of the ink so that he will stand out.  I then added some white gel pen highlights.  I then stamped my greeting stamp - a lovely pressie from Sarah!  big thank you!! :-)  This is a Tim Holtz stamp - again stamped in Archival black.  I added a hand-drawn border and criss-cross design at the top and finished with a little black bakers twine.

I've got some fab projects coming up - as a result of some amazing crafting sessions this week.. I've had lots of fun!

happy crafting

Jane

www.aldridgecrafts.co.uk

Tuesday, February 25, 2014

Hello Old Bird!

More from the black and white theme again.. this time using my Inkadinkado bird stamps and a little zentangling.

I started by drawing a line across my card, putting a few twists and turns into it.  I then stamped my birds in black.  I started to decorate the birds with different patterns.  I stamped the greeting in the corner and then drew a border around the outside with my fineliner.  It was then mounted onto black card.  I just love the contrast of working in black and white.

We'll have a bit of colour tomorrow!

happy crafting

Jane

www.aldridgecrafts.co.uk

Monday, February 24, 2014

Tattered Lace Shoe


Today's card features the fabulous High Heel Glam Shoe die from Tattered Lace.  We have just done our first order for this fabulous die range - and this is one of the dies on order.  We've chosen a good selection from their best-selling range - bows, corners, borders and lovely elements.

We are having a black and white window theme in the shop this week, so this is a card I designed to fit in with that theme.  Keeping it very simple I cut the shoe from black cardstock.  I cut a square white card mount and used my punch around the page from Martha Stewart to add the lovely border.  Finally it was just mounted onto black and onto a square card blank!  Such a simple design and yet it looks so effective!

More from the black and white theme tomorrow....

happy crafting

Jane

www.aldridgecrafts.co.uk


Sunday, February 23, 2014

Dramatic Wildflowers


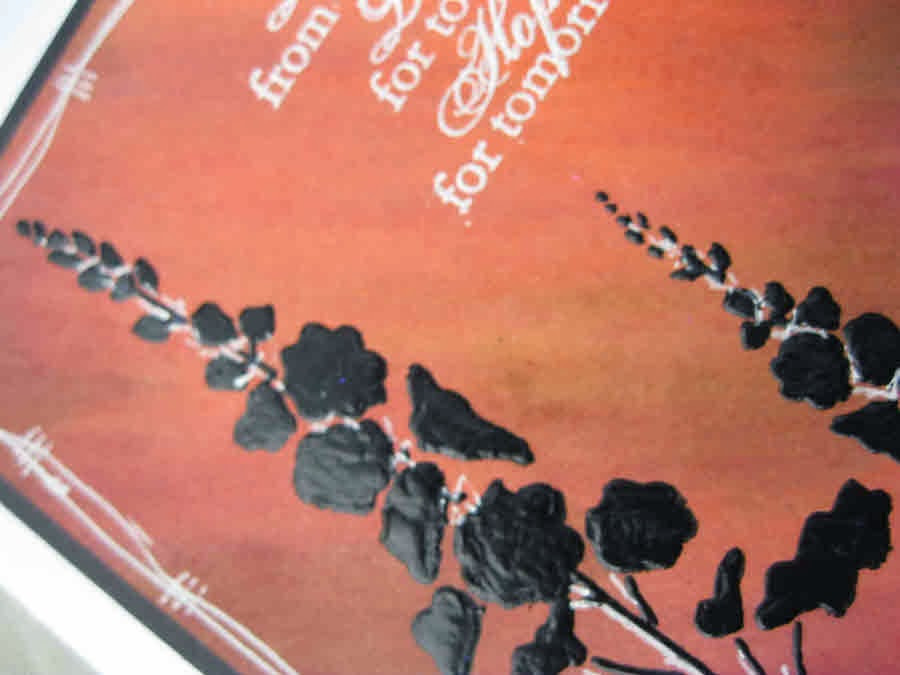
It's another Sweet Poppy Stencils card today.  This time I have used the wildflower stencil with the black paste.  I started by creating a background using the Distress Paints - I've added some new colours to my collection so I have more orange and red tones.  I've swiped in diagonal lines and then used a cloth to blend the paint - it gives a much more graduated blended effect this way I have found.  Once it was dry I then added my wildflowers with the paste and allowed to dry.  I stamped and embossed my greeting using white embossing powder and added a border and some highlights to the flowers using my white gel pen. I really liked the finished effect of this card - very dramatic!

Its been a busy day here... I've been at home busy stringing up lots of new beads stock as our China shipment has now arrived.  I'm going to have to squeeze in some creative time around bead stringing this week!

hope you have had a restful Sunday!

happy crafting

Jane

www.aldridgecrafts.co.uk

Saturday, February 22, 2014

Blue Glittered Dragonflies... and one pest of a cat!


oooops I almost forgot to blog today!... that's what you get for chilling out on a Saturday evening, watching reruns of Superman II with a large (ish) glass of wine (Only because we need empty wine bottles for a craft project of course)...  I toddled off to bed for an early night due to the cat (more on that in a mo)... to think oh... no blog... so back downstairs to my laptop!

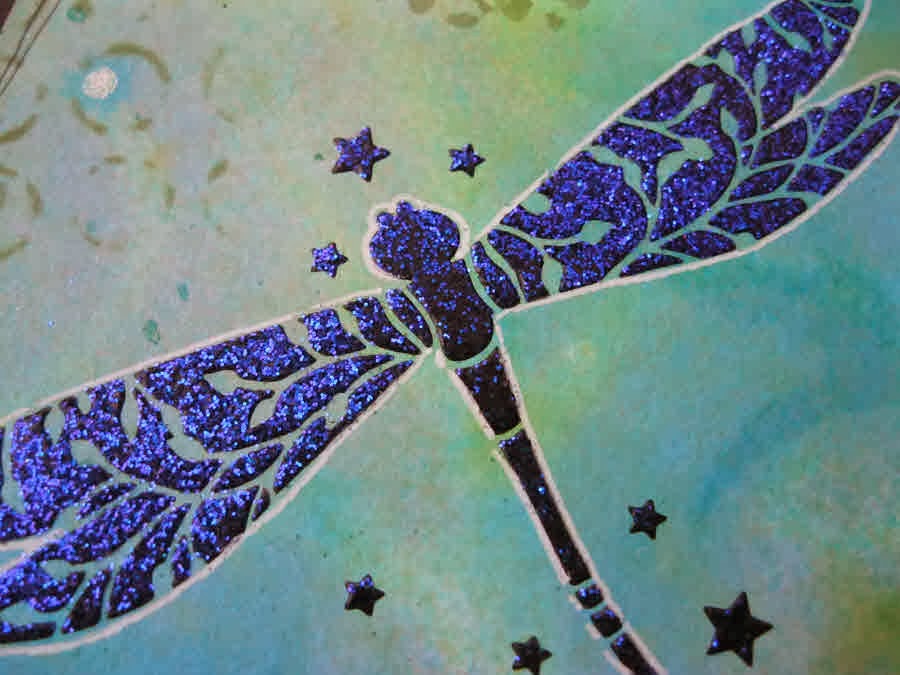
Today's card is featuring the dragonflies stencil from Sweet Poppy Stencils (oh.. my new delivery is due in the shop on Tuesday by the way!).  I created the background first by spraying Cosmic Shimmer Ink Misters and left aside to dry.  I then added some patterns using a mask and some inks.  Next I used Sweet Poppy Dimensional paste in gloss black to put on my dragonflies and whilst it was wet I sprinkled it with some fine bluey-purple glitter - not so it was completely covered but more on the wings than the body.  I then left aside to dry and then added white highlights and a black pen drawn  border.  I just love this card - the vibrancy of the colours, the twinkle of the glitter - and I wasn't the only one - it had pride of place in our window display and I had to open up the shop early this morning as a chap spotted it as the perfect birthday card for his wife whilst I was still setting up this morning!  so it was my first sale of the day!

Back to the cat... we are having fun and games with our cat at the moment... Finlay is our Birman kitten/cat (he's now about 10 months old).  He's decided this past few weeks that if he spends enough time yowling loudly at the window and scratching at it... or sitting in front of the TV, playing with wires or jumping on the mantel piece and generally being a pest...  that's the perfect way to tell us he not only wants to go to bed (to sleep in the dog's bed in our bedroom).. but he needs company whilst he's there!  Not for a fuss mind you, just for you to be in the room... so I seem to be getting a lot more early nights at the moment as he wants to go to bed at 9.30!  Anything for sanity and peace and quiet at the end of a tiring day!  At least it gives me time to browse Pinterest for fab ideas on my Ipad!
I'm hoping its a habit we can wean him off... but some evenings it's just easier to go to bed for a quiet cat! :-)

Back tomorrow at a more reasonable hour!

night all
Jane

www.aldridgecrafts.co.uk


Friday, February 21, 2014

Chinese Bird Card


This lovely little chap is a new Stampendous stamp.  This was another creation from the trade show.  I created the background by using the Stampendous version of the gelli plate (we'll be getting gelli plates in shortly!) - with some acrylic paint and spread it around with a brayer (roller).  Once our background was dry, the bird was stamped in black ink and then the paints were used to add some colour.  the leaves were coloured with a little watercolour pencil.

Sorry - very quick post today... on my way out of the door to the craft club this evening - should be fun!!

will catch you all tomorrow

hope you like the card

Jane
www.aldridgecrafts.co.uk

Thursday, February 20, 2014

Red and Gold....

The theme for this month's craft club is Red and Gold.  This is my creation for club night this Friday.  My first thought for this theme was oriental and this stamp is just perfect.  I thought I would keep this card simple - blocks of bold colours.

I started by cutting my bright red card into a square big enough for my stamp design and then stamped and embossed in gold.  This stamp has enough detail that she works well just heat embossed.  I then mounted onto my black and white square mounts.  As an extra detail I stamped and embossed in gold on the card blank with my oriental style flower and then added a little black and red bakers twine just to add a little softness to the card.

Don't forget we have our 2nd hand craft supplies sale this Friday at club - all welcome!  We'll also be doing a make and take with the bird card.  It held at Francis Rooms at the side of Connaught hall in Attleborough, this Friday 6.15-8.30.  Look forward to seeing you all there!

happy crafting

Jane

www.aldridgecrafts.co.uk

Wednesday, February 19, 2014

Zentangled Dress

 You know how sometimes you see a stamp or a stencil and you just know what project you want to create... and even if you need to make something else.. you need to make that project just to get it down on paper and out of your head!... well it was like this for me.  This is one of the fabulous new dress stencils from Sweet Poppy which I have ordered along with lots of other designs of their stencils due to arrive shortly!

I had a lovely chat with Lucy from Sweet Poppy at the trade show this week and said I couldn't wait to get going with this stencil..!

I started by using a fineliner black pen - the finest nib I had which was 0.1mm.  I slowly and carefully traced around every part of the dress stencil (I left out the decorative elements to leave just the dress).  Try to keep the pen as upright as you can as this will protect the nib from being damaged by the metal stencil.

Then the patterns begin.  I kept the designs quite simple so that the dress had different layers to it and then the mannequin had it's own definition too.  I then just mounted it on a simple black card mount and hand-drew a little line border around the edge to frame it.  It's such a detailed design I didn't want to distract from it by adding any other decoration... it was beautiful just as it was!

So remember... stencils are not just for using with paste..  go forth and zentangle!!

If you would like to try zentangling and creating this card, you can join us on our workshop on 6th March 6-8pm for just £12.50 - give us a call or an email to book your place - or book online here..

happy crafting
Jane

www.aldridgecrafts.co.uk

Shop for Stencils   
(email us if you would like a dress stencil reserved from the new stock!)

Shop for Zentangling pens


Tuesday, February 18, 2014

All Hearts and Flowers

I've just come back from a fabulous two days at the crafting trade show.  So much to see.. so many demonstrations to watch - and I was lucky enough to do a workshop with Lindsay Mason too!

This is the project that we created.  We started with plain old brown corrugated card - one die cut into a heart shape.  We ripped part of the top layer off both pieces to reveal the corrugations and then painted them using Distress Paints (she must have known I was coming to use my favourite product!).

We had die cut flowers from the new fab Tim  Holtz grand tattered florals die from Sissix (we can order this die.. let us know if you want us to get you one!) - cut from various decorative papers and we scrumpled them and then inked with distress ink.  We added some shimmer paste onto the corrugations and then aseembled everything to create our wall hanging.  I was really pleased with the end fresult - I wanted to try using more subtle colour ways and this was a good way to start with the delicate pink and pale blue.

What a great use of leftover cardboard - I'll definitely be featuring it more in my creations!

I have come back from the show so inspired... lots of ideas buzzing in my head for future creations.  I've also placed orders at the show too... so watch this space for new products arriving shortly.... from a couple of new suppliers that I am very very excited to be able to stock (some of them took persuading to allow us to stock... not everyone gets to!).

happy crafting
Jane

www.aldridgecrafts.co.uk


Monday, February 17, 2014

What a Colour


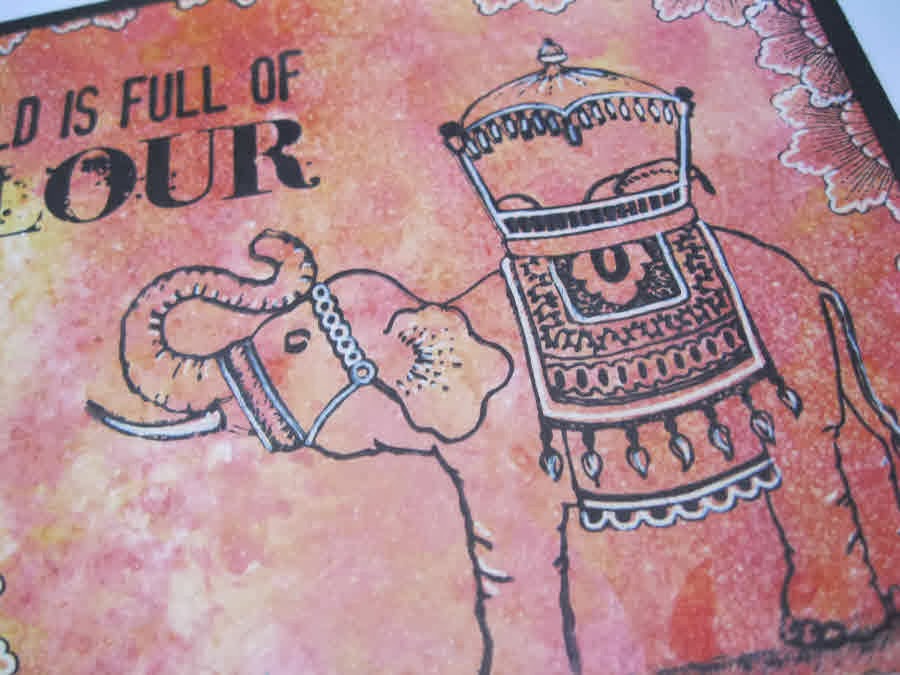
I'm loving this orange background phase!  Again created with Alcohol inks onto glossy card - a mix of yellow, orange and cranberry and this time spritzed with Stazon stamp cleaner - it will give this lovely fine mottled effect. 

The stamping is all by Chocolate Baroque stamps in Archival Black.  The elephant and that most gorgeous flower are both from the same set - Indian Elephant.  The wording is from Artistic Affirmations.

It's worth taking the time on this sort of project to put in lots of white detail - it's what really makes the project come alive.

One of my favourite pieces!

This is a scheduled post as I will be at the second day of the trade show today...  my head by now will be spinning with inspiration!  Keep an eye on our facebook page for lots of updates as I'm sure I'll be sharing inspiration about what I've seen as soon as I can! 

happy crafting

Jane
www.aldridgecrafts.co.uk
Shop for Chocolate Baroque stamps

Sunday, February 16, 2014

Its Hare.....


It's hare.... sorry here!  Trade show day... hurrah!  Whilst you are reading this I will be busy oohing and aahing over all the new crafting goodies and trying my best not to spend too much!! 

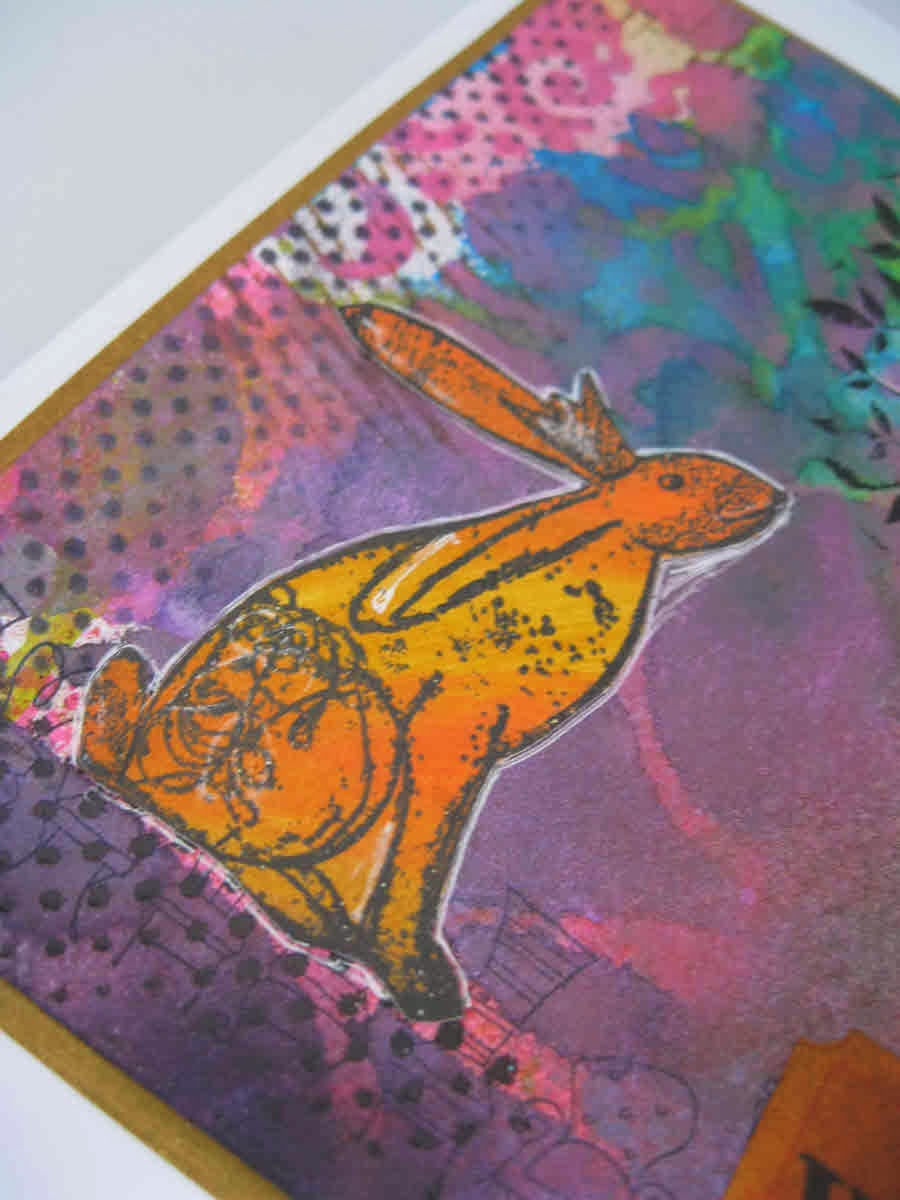
Today's project has been started with an Ink mister background created using masks to give it some definition.  I inked through a mask to add the dotted details.  I stamped and embossed my tree stamp (Indigoblu Treemendous) and stamped my hare (crafty individuals) onto some white card and then used Mustard seed and Spiced Marmalade Distress Paint to colour him.  I cut him out and stuck him down and then added some white highlights. 

He needed something to sit on so I used my versamark through the same spotty mask and then added embossing powder to give him a dotty base.   Finally I added a ticket from the Adage tickets from Tim Holtz and tinted it with the same colour paints as my hare.

I really like the mix of colours on this piece.. hope you do to!

right... back to those shopping lists....

happy crafting
Jane
www.aldridgecrafts.co.uk
Shop for Crafty Indivuals Stamps
Shop for Indigoblu Stamps
Shop for Ink Misters
Shop for Tim Holtz Tickets

Saturday, February 15, 2014

Make Time to Make Art


I love the colours on this piece.  The background has been created using Alcohol Inks onto glossy cardstock.  I just love the vibrancy of alcohol ink backgrounds.  I did the background quite a while ago so not 100% sure of the colours... but it looks to me like Orange, a bit of yellow, Cranberry and drops of blender. 

As the background was so beautiful this one didn't need any other colours adding to it, so I kept it simple and stamped in Black Archival.  The butterfly stamp is from Crafty Individuals and the other stamps are Chocolate Baroque.  A few highlights with a white gel pen make all the difference!

A very important sentiment on this card.... make sure you make time to make art this weekend... You'll be so glad you did!

happy crafting

Jane

www.aldridgecrafts.co.uk
Alcohol inks are available to buy instore but sorry we can supply online due to royal mail dangerous goods restrictions!
Shop for Glossy Card
Shop for Chocolate Baroque Stamps
Shop for Crafty Individuals Stamps